
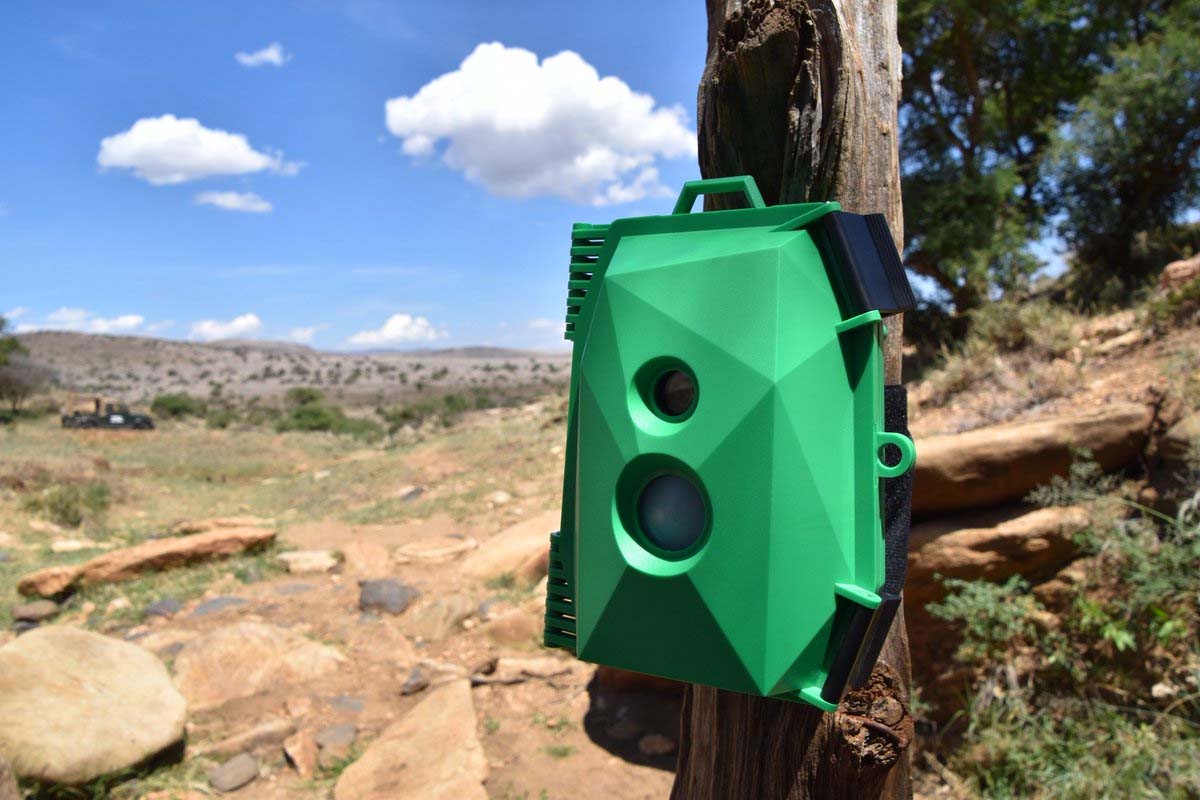
If you’ve bought the Wildlife Cam CASE, but would like to use your own components – see below are the components we recommend you use to build the kit:
The full page of our digital guides and resources can be found here
We’ve provided links to The Pi Hut where you can buy components but you can purchase them from other electronics/maker stores. Where there isn’t a link you can easily find the parts with a basic online search.
- Raspberry Pi – any of A+, 2/3B, 2/3B+ or Zero models with headers (we use the A+ for power efficiency but you can use any that you have) thepihut.com
- Raspberry pi Camera module – thepihut.com (zero cam ribbon adapter if using a pi zero)
- Micro SD Card – 8GB+
- USB flash drive 2.0 – a thumb-drive small to fit inside case e.g. this one from amazon (and a microUSB converter shim if using a pi zero)
- PIR Sensor thepihut.com/
- USB Wire (Type A to micro)
- 3 x jumper Wires (female-female)
- optional – RTC (Real time clock) thepihut.com
- Power bank – make sure it fits in the back of the case. Max recommended dimension limits – 70 mm (w) x 100 mm (l) x 22 mm (d). Make sure it your USB cable connection when plugged in – for example this one from amazon works well (dimensions 60 mm x 92 mm x 22 mm).
Power alternative – The Wildlife Cam Kit can use the below instead of a power bank:
- Rechargeable Li-ion battery (8800 Mah)
- Seeed studio Lipo rider V 1.3 (Seeed Studio)
Create a naturebytes account to access the assembly guide and resources page which has the download files for the Operating System software that we use for the Wildlife Cam Kit, or watch here for the naturebytes manual.
We love seeing your projects and photos so don’t forget to tag us on social media (facebook or instagram) in your projects with #naturebytes
We can’t wait to see how you use your Wildlife Cam Case.

Raspberry Pi weather station prototype by @rdhayler
Hello
I have just received my cam case and looking forward to building and using the camera.
I am confused about one thing though as a very new Raspberry Pi user.
Do I install the Raspbian software on my Pi then the Naturebytes or is Naturebytes an operating system in its own right without needing Raspbian.
I cant see any mention of this in the instructions
Many thanks
Kind regards
Jim
Hi Jim,
All you need to do is download the Naturebytes Operating System from here download and install it using the guidance here https://www.raspberrypi.org/documentation/installation/installing-images/
Let us know how you get on,
THe NB Team
Hi:
While I wait for the box of naturebytes of Santa Claus, I am studying how the system works. I have a question:
Can I use the files of the following link ?:
https://github.com/naturebytes/Naturebytes-RaspPi-Dev/tree/master/Pixel
And how would you have to copy them to the latest version of this Christmas?
Thanks in advance and happy Christmas
Yeah, I’m struggling to get the Pi 3A+ to work with the image from 2016. The latest version of stretch works fine, so I am a bit stuck. A manual build guide would be nice.
I managed to figure out setting up the scripts via the Github page. I’m happy to share the instructions.
I’d love to know if this kit was ever going to be back in stock, I’ve been waiting for a while now.
Will there be a version of this product with solar cells?
Good afternoon, I have received the kit but the rechargeable battery was not included. Where can I get one?
You can purchase a small lithium-ion power bank (Anker have a range of solutions). The Anker 10,000mAh pack fits the case.
Hi Folkert,
We don’t sell an official solar version but a number of users have used a Pi-Supply Juice HAT and solar panels successfully.
Hi Ian, the case is currently available on Amazon, but we don’t have any kit stock to date. This is something we are working on to resolve.