We need to ensure we have a kit that looks great both indoors and out, houses all of the electronic parts necessary to actually power and run the camera and that it holds up to the elements. This month we thought we’d share our design process with you and bring you up to speed with where we are in terms of finishing our prototype.
It all started with an initial concept designed to act as camouflage when attached to tree trunks. We used this design to help us explain to people what our vision was and and how it might look when we first set out to develop the kit.
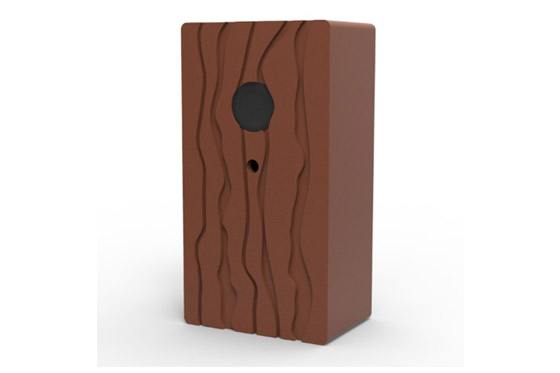
An early Naturebytes camera trap kit concept
We then developed more concepts, exploring a whole range of new ideas and designs. This little family of concept designs helped us get a better idea of what we liked the most and what might work best.
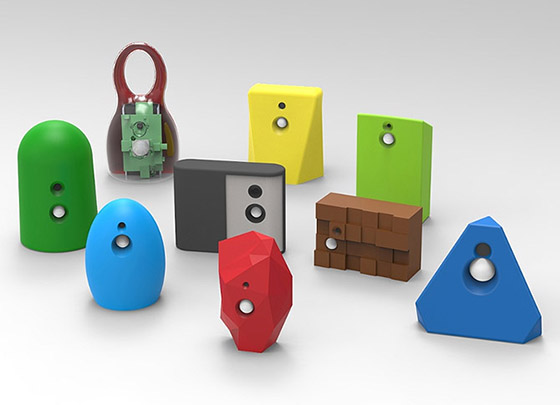
An early family of our camera trap kit prototype designs
We then took a few of our new designs and asked different user groups what they liked best. The one that received the most positive feedback was refined and 3D printed for testing in the real world.
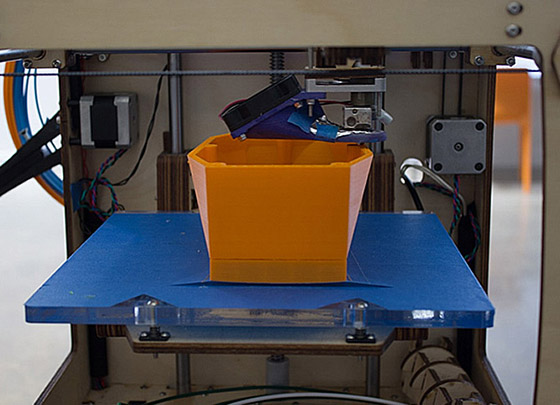
3D printing a prototype case on a Makerbot
After handing out the printed prototype, we tested it, tweaked it and then moved to printing out the next design to see how it stood up based on the feedback we received. Here’s what it started to look like:
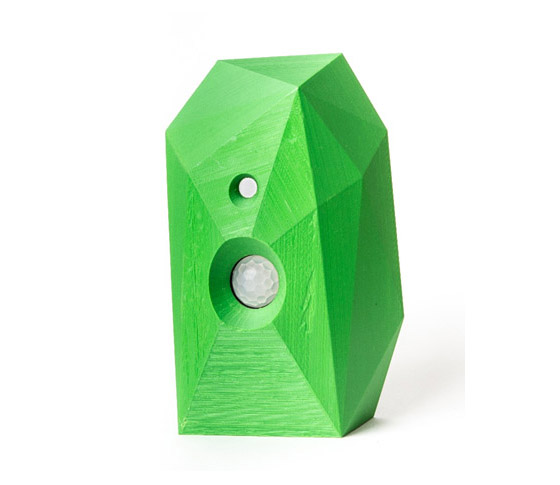
3D printed using an Ultimaker 2
Over the next few weeks we will be moving towards the creation of a silicon (injection) mold to proof test the case’s waterproof features and to finalize the tooling necessary to mass produce cases. We’ll let you know how we get on as we near our goal of rolling out the first kits off the production line.


For maximum feedback and community improvements I suggest uploading stl files to thingiverse.com
Please can you tell me if the stl files to print the enclosure will be made available?
Thanks
Hi Nikki. We’ll be releasing the STL files together with the Developer Kits from our Kickstarter when they ship.